Recording, editing and integrating a sound for a click event
- Published:
- Last edit:
- Reading time:
- 5 min.
Who remembers the times when music or other nasty sounds randomly started playing as soon as you visited a website? I remember making sure to turn the speakers down before I went online (yes, I also remember consciously switching the internet on and off. That was expensive).
For a long time it was frowned upon to play any unsolicited sounds. The user rightfully should be in control to consciously play anything that triggers any kind of sound and moving image. Nevertheless, whimsical interaction sounds have found their back into personal websites in recent years, and I think that’s wonderful. My site also makes a (hopefully) subtle sound in two places, namely when you switch between light and dark theme, and when you change the language. I’ll explain below how you can implement a sound yourself that has a click event as a trigger.
Record your sound
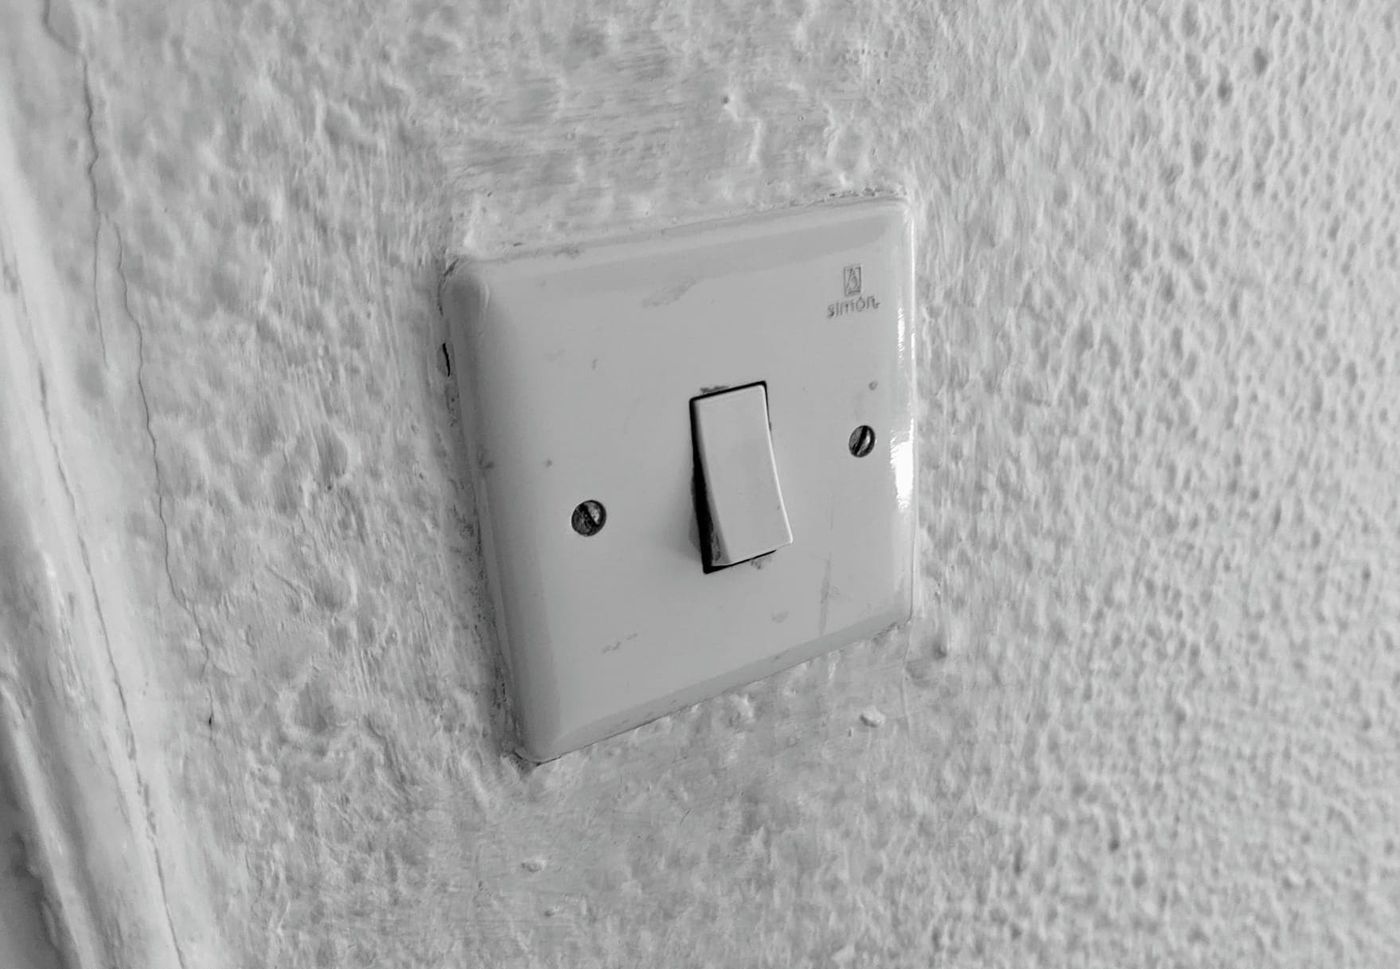
That’s easy! Nowadays we always have a sound recorder with us. So I stand next to my old light switch and record its crackling sound with my phone.
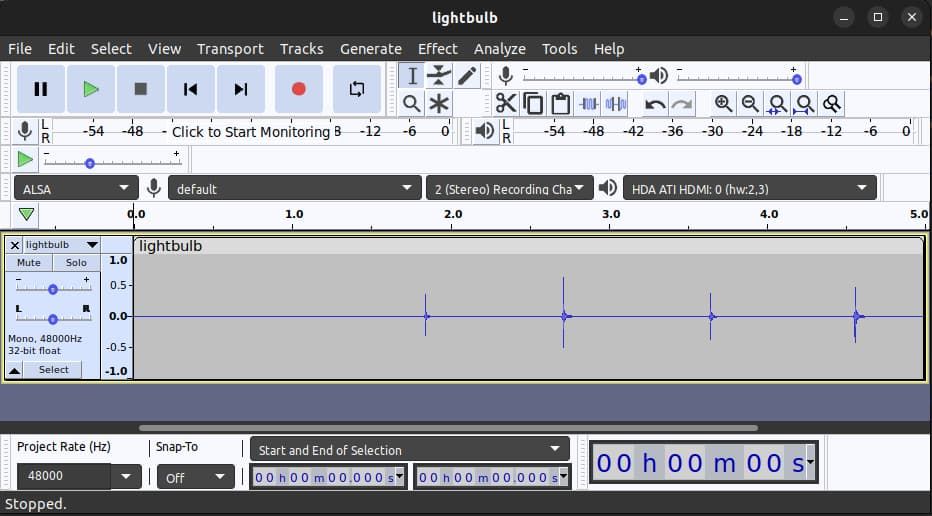
Now send the sound to your computer, and here we have to cut it up. A free and easy-to-use tool is Audacity.
Install and use Audacity
My system runs on Ubuntu, I installed it via snap store:
sudo apt update
sudo apt install snapd
sudo snap install audacity
You can find the downloads for all operating systems on their website: https://www.audacityteam.org/download/
Once you have Audacity running, drag your audio file into the editing window. In my case I got an .ogg file from my mobile phone.
Now you can select an area for your audio clip and then separate it from the rest of the file via “Edit” > “Clip Boundaries” > “Split”.
You now have three areas.
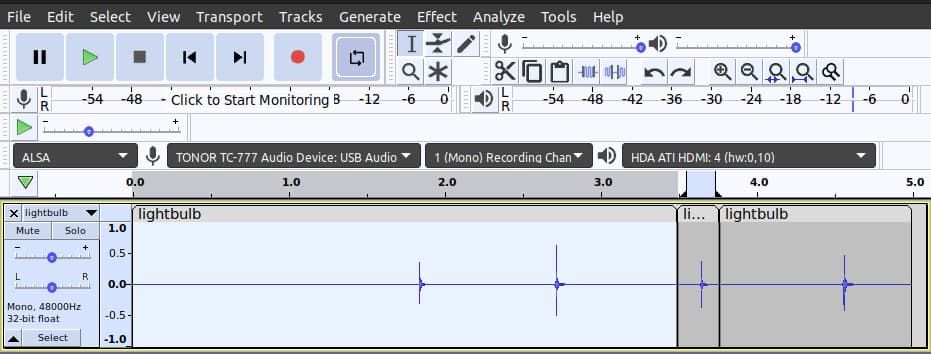
You can mark and delete the areas you don’t want. Make sure that the sound starts quite quickly, as an audible delay after the click event does not seem natural.
On the left side of the cutting area you can adjust the volume. My original sound is a bit too loud and intense for my taste, especially as you probably don’t expect the action to trigger an audible sound. Adjust it down a bit until it sounds pleasant in relation to your normal volume for music playback (people don’t turn down their speakers nowadays).
You have some more effects available you can try, but I’m happy with my recording now.
Go to “File” > “Export” and select “Export as mp3”. You will be asked for the save location and can add metadata.
My file is 3.9kb in size.
Better use .wav?
.mp3 is smaller and good for long audio or streaming, but .wav might actually better for short UI sounds. It does have a better quality and no gap or latency. Export both and compare quality and file size - with very short sounds it often does not make much difference.
Add the sound to your site
For this to work you don’t need a static site generator (a tool that creates web pages in advance, making them faster and more secure, as they don’t rely on server-side processing), you can just put your sound in a folder of your choice.
In my project I add light-on.mp3 to a folder located in src/assets/sounds.
I built this website with Eleventy, and I need a build step that transfers everything from my input folder to the output folder.
I use Passthrough File Copy in my Eleventy config file to ensure that the folder and its contents are copied.
eleventyConfig.addPassthroughCopy('src/assets/sounds/');In your HTML you must define the area to listen for the click. In my case, that’s a button next to my name and navigation.
<button type="button" data-sound-switch>
  <!-- svg icon, for example -->
</button>
Using the HTMLAudioElement: Audio() constructor
As part of a theme switch, the relevant part in the JavaScript is:
let switchSound;

document.addEventListener('DOMContentLoaded', () => {
  switchSound = new Audio('/assets/sounds/light-on.mp3');
  switchSound.load();
});

const onClick = () => {
  if (switchSound) {
    switchSound.play();
  }
};

window.onload = () => {
  document.querySelector('[data-sound-switch]').addEventListener('click', onClick);
};
The first line declares a variable called switchSound without initializing it. Being defined at a higher scope it can be accessed by different parts of the code. We then listen for the DOMContentLoaded event, which is fired when the HTML document has been completely loaded and parsed, but external resources like stylesheets and images may not have been fully loaded yet. This is to make sure that the loading of the sound does not block any important assets.
Within the event listener for DOMContentLoaded, I create the new Audio object and assign it to the switchSound variable. The actual playing of the sound (using the HTMLMediaElement play() method) - takes place in the function expression onClick.
The load event for the window object is triggered when the entire page, including styles, images and other resources, is loaded. It is available via the onload property.
I make it listen for clicks on the button with an attr of data-sound-switch.
Using the Web Audio API
The above code works fine for basic needs - Web Audio API allows for better better performance and control.
document.addEventListener('DOMContentLoaded', async () => {
  const audioContext = new (window.AudioContext || window.webkitAudioContext)();
  let switchBuffer = null;

  async function loadSwitchSound() {
    const response = await fetch('/assets/sounds/light-on.mp3');
    const arrayBuffer = await response.arrayBuffer();
    switchBuffer = await audioContext.decodeAudioData(arrayBuffer);
  }

  await loadSwitchSound();

  function playSwitch() {
    if (!switchBuffer) return;
    const source = audioContext.createBufferSource();
    source.buffer = switchBuffer;
    source.connect(audioContext.destination);
    source.start(0);
  }

  document.querySelector('[data-sound-switch]')?.addEventListener('click', () => {
    if (audioContext.state === 'suspended') {
      audioContext.resume();
    }
    playSwitch();
  });
});
Instead of creating a new Audio object each time, we fetch and decode the .mp3 file once and store the decoded audio in switchBuffer. AudioContext gives us sample-level control over audio playback. This means it exposes audio as raw digital data, actual waveforms: Now we can do thigs like fading in and out, control volume, change playback speed, etc. Look into the mdn docs to see what’s possible. To control the volume, we can do this:
const gainNode = audioContext.createGain()
gainNode.gain.value = 0.5
source.connect(gainNode).connect(audioContext.destination)
I try to keep my articles up to date, and of course I could be wrong, or there could be a better solution. If you see something that is not true (anymore), or something that should be mentioned, feel free to edit the article on GitHub.